110 lines
3.5 KiB
Plaintext
110 lines
3.5 KiB
Plaintext
---
|
|
id: frame-processors-plugins-ios
|
|
title: Creating Frame Processor Plugins
|
|
sidebar_label: Creating Frame Processor Plugins (iOS)
|
|
---
|
|
|
|
import Tabs from '@theme/Tabs';
|
|
import TabItem from '@theme/TabItem';
|
|
|
|
## Creating a Frame Processor Plugin for iOS
|
|
|
|
The Frame Processor Plugin API is built to be as extensible as possible, which allows you to create custom Frame Processor Plugins.
|
|
In this guide we will create a custom QR Code Scanner Plugin which can be used from JS.
|
|
|
|
iOS Frame Processor Plugins can be written in either **Objective-C** or **Swift**.
|
|
|
|
|
|
<Tabs
|
|
defaultValue="objc"
|
|
values={[
|
|
{label: 'Objective-C', value: 'objc'},
|
|
{label: 'Swift', value: 'swift'}
|
|
]}>
|
|
<TabItem value="objc">
|
|
|
|
1. Open your Project in Xcode
|
|
2. Create an Objective-C source file, for the QR Code Plugin this will be called `QRCodeFrameProcessorPlugin.m`.
|
|
3. Add the following code:
|
|
|
|
```objc {12}
|
|
#import <VisionCamera/FrameProcessorPlugin.h>
|
|
#import <VisionCamera/Frame.h>
|
|
|
|
@interface QRCodeFrameProcessorPlugin : NSObject
|
|
@end
|
|
|
|
@implementation QRCodeFrameProcessorPlugin
|
|
|
|
static inline id scanQRCodes(Frame* frame, NSArray args) {
|
|
CMSampleBufferRef buffer = frame.buffer;
|
|
UIImageOrientation orientation = frame.orientation;
|
|
// code goes here
|
|
return @[];
|
|
}
|
|
|
|
VISION_EXPORT_FRAME_PROCESSOR(scanQRCodes)
|
|
|
|
@end
|
|
```
|
|
|
|
:::note
|
|
The JS function name will be equal to the Objective-C function name you choose (with a `__` prefix). Make sure it is unique across other Frame Processor Plugins.
|
|
:::
|
|
|
|
4. **Implement your Frame Processing.** See the [Example Plugin (Objective-C)](https://github.com/mrousavy/react-native-vision-camera/blob/main/example/ios/Frame%20Processor%20Plugins/Example%20Plugin%20%28Objective%2DC%29) for reference.
|
|
|
|
</TabItem>
|
|
<TabItem value="swift">
|
|
|
|
1. Open your Project in Xcode
|
|
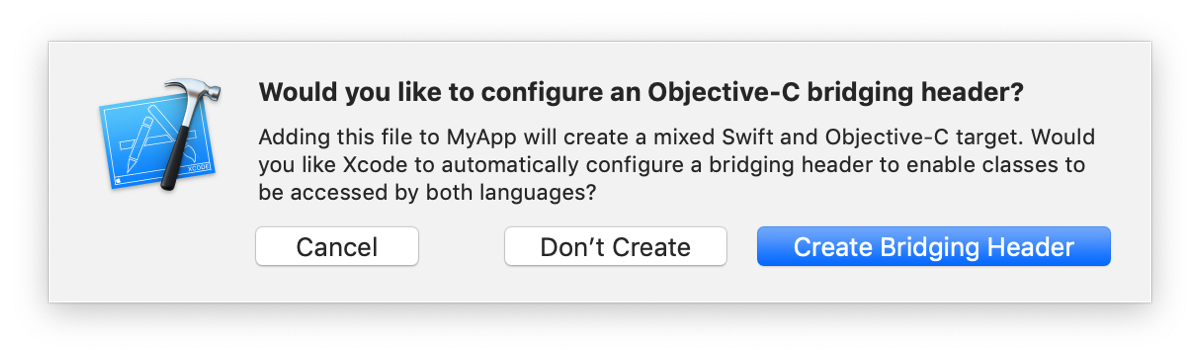
2. Create a Swift file, for the QR Code Plugin this will be `QRCodeFrameProcessorPlugin.swift`. If Xcode asks you to create a Bridging Header, press **create**.
|
|
|
|
|
|
|
|
3. Inside the newly created Bridging Header, add the following code:
|
|
|
|
```objc
|
|
#import <VisionCamera/FrameProcessorPlugin.h>
|
|
#import <VisionCamera/Frame.h>
|
|
```
|
|
|
|
4. Create an Objective-C source file with the same name as the Swift file, for the QR Code Plugin this will be `QRCodeFrameProcessorPlugin.m`. Add the following code:
|
|
|
|
```objc
|
|
#import <VisionCamera/FrameProcessorPlugin.h>
|
|
|
|
@interface VISION_EXPORT_SWIFT_FRAME_PROCESSOR(scanQRCodes, QRCodeFrameProcessorPlugin)
|
|
@end
|
|
```
|
|
|
|
:::note
|
|
The first parameter in the Macro specifies the JS function name. Make sure it is unique across other Frame Processors.
|
|
:::
|
|
|
|
5. In the Swift file, add the following code:
|
|
|
|
```swift {8}
|
|
@objc(QRCodeFrameProcessorPlugin)
|
|
public class QRCodeFrameProcessorPlugin: NSObject, FrameProcessorPluginBase {
|
|
|
|
@objc
|
|
public static func callback(_ frame: Frame!, withArgs _: [Any]!) -> Any! {
|
|
let buffer = frame.buffer
|
|
let orientation = frame.orientation
|
|
// code goes here
|
|
return []
|
|
}
|
|
}
|
|
```
|
|
|
|
6. **Implement your frame processing.** See [Example Plugin (Swift)](https://github.com/mrousavy/react-native-vision-camera/blob/main/example/ios/Frame%20Processor%20Plugins/Example%20Plugin%20%28Swift%29) for reference.
|
|
|
|
|
|
</TabItem>
|
|
</Tabs>
|
|
|
|
<br />
|
|
|
|
#### 🚀 Next section: [Finish creating your Frame Processor Plugin](frame-processors-plugins-final) (or [add Android support to your Frame Processor Plugin](frame-processors-plugins-android))
|